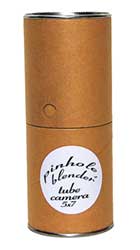
The Pinhole Blender Tube Camera
4x5 and 8x10
This simple to use camera design is based upon the old style Oatmeal Box pinhole cameras used for the past 30 years by introductory photography classes. The old style oatmeal box came with a close fitting cardboard lid which made the box light tight and easy to use. Recently this style box top was replaced with a new fangled plastic top which is hard to make light tight. The Pinhole Blender Tube Camera adds a new twist to the classic cylinder camera. The top half of our box twists to open and close the shutter. Please take a few minutes to familiarize yourself with the loading and use or your new camera.
Back to Cameras Page.
Photo paper must be loaded
under a red or orange safelight.
Your Tube Camera must be loaded in a darkroom illuminated with the proper safelight for the material you are using. Because of the curve of the cylinder its best to use a matte or pearl surfaced paper. Open the camera and have the pinhole and name label facing towards you. Take a piece of photo paper and curl it with the emulsion side facing inwards. Slip the paper into the tube taking care not to block the pinhole lens with any of the photo paper. Slide the top back on and twist so that the shutter opening is away from the pinhole. The 5x7 Tube Camera will take 5x7 paper oriented horizontally or vertically. The 8x10 Tube Camera will only take 8x10 paper oriented in the horizontal position.
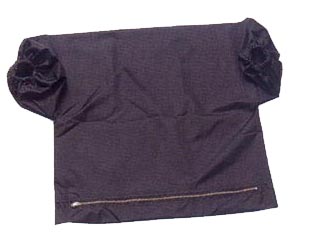
A changing bag can also be used to load your camera and is specifically designed so that it does not allow light to enter while in use. The bag has two sleeves at each end for both of the users arms, and a double layered zipper entrance to the interior of the bag. Take special care to find the emulsion side of your paper before loading. Do this in a darkroom and place a piece of tape on the exterior of the plastic bag the paper comes in to indicate the way the paper emulsion is facing in your bag. Make a cardboard separator and insert into the bottom of your photo paper bag. Place your exposed paper under this separator for transport back to the darkroom for processing.
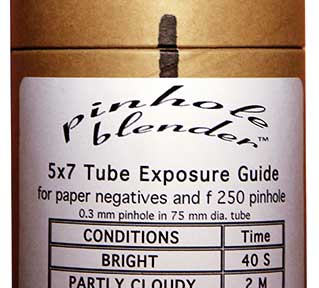
Each Pinhole Blender Tube Camera has a shutter alignment mark on the back above the exposure chart. When the two black marks are aligned the shutter will be open on the front. When you’re opening the camera from the front the pinhole is aligned with the front label.
The exposure chart has been calibrated for Freestyle's Arista II RC Fine Luster Grade 2 Black & White paper. To control contrast, I recommend that you process this in half strength paper developer. These times have been tested by many student workshop participants in my darkroom. You may find you need to modify your times for your own paper and processing chemicals. S equals seconds, M equals minutes and H equals hours in the chart.
Take care when judging lighting conditions. Partly cloudy days with moving clouds is particularly hard to judge, as sunlight can alternate with cloudy conditions during the recommended exposure, resulting in errors.
When you're ready to expose, place the camera on a steady surface with the front label pointing towards your subject. Twist the top of the box till the alignment marks on the back are aligned with each other. Now start counting seconds. A stop watch or kitchen timer helps with this. When the exposure time has been reached, twist the top to close the shutter. I use multiple cameras when out shooting. I turn the shutter hole and line it up with the back alignment mark to keep track of which one have been exposed. I leave the shutter hole on unexposed cameras facing to the side.
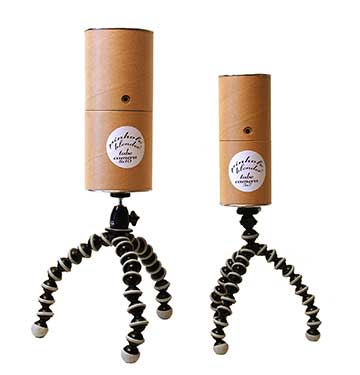
Both Tube Cameras can be attached to a tripod using the Pinhole Blender Magnetic Quick Release. This is a tripod adapter that screws onto the threaded bolt of the tripod and attaches to the metal base plate on every Pinhole Blender camera.
Do not use this adapter for regular digital or film cameras. The magnet may cause damage to storage media and regular cameras may be too heavy for the magnetic pull of our Quick Release.
The 5x7 & 8x10 Tube Cameras are shown here attached to Gorilla Pods.
Problem Solving:
No or light exposure - Make sure paper is loaded correctly. Do not cover the pinhole with the paper. Check that your using the correct time from the chart.
Blurred image - Pinhole photography requires long exposures. Place your camera on a firm surface during exposure. Handheld shots will usually give blurred images. A magnetic tripod mount is available from the Pinhole Blender web site. This easily attaches to any tripod and to the Tube Cameras metal ends.
Dark vertical marks on negative image - This is caused by reflections from glossy paper used in a cylinder camera, use matte surface paper.
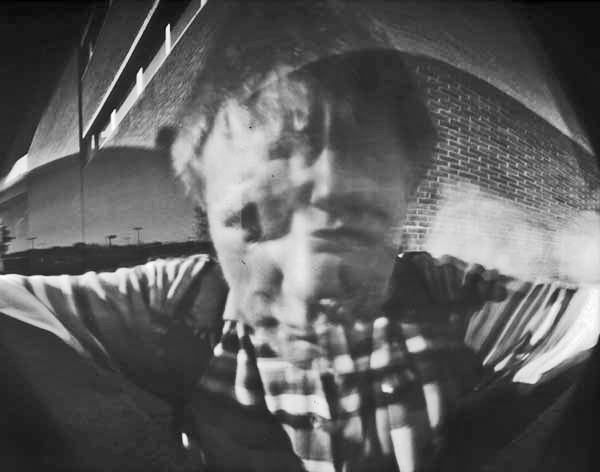
Ghosts - A ghost effect is possible by moving your subject halfway through the exposure. You might also want to explore creative double exposures. For a double exposure give each image half the amount called for in the exposure chart.
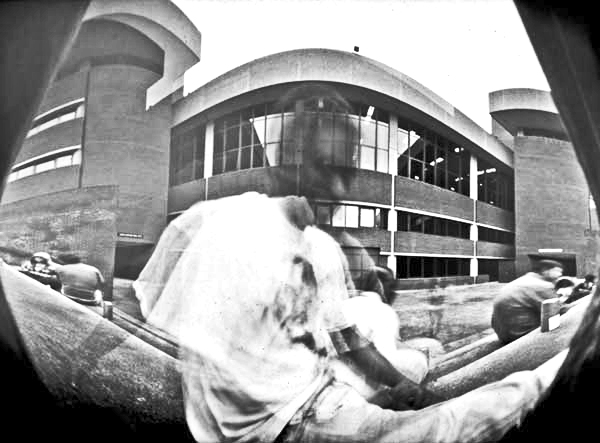
Subject is small in the developed image - The Tube Camera captures a very wide angle of view. Set your camera closer to your subject.
Straight lines are now curved - The curve in the back of the Tube Camera causes straight lines in your subject to become curved. You can extenuate this by tilting the camera up or down when taking your picture. A tripod helps with this.