The
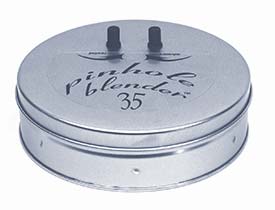
'Original' Pinhole Blender 35
The Pinhole Blender 35mm uses three, 0.3mm pinhole taking lenses to triple expose your subjects into a collaged panorama. Please take a few moments to familiarize yourself with this camera and learn how to load, advance and shoot with this exciting new twist on an old idea.
Back to Cameras Page.
Loading the Camera
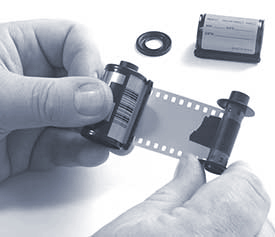
The winding system for the Blender 35 uses a reloadable film cassette as a take-up holder. This cassette is assembled with the spindle upside down.
First, cut the leader off your film and tape it to the take-up spindle with both spool ends facing up.
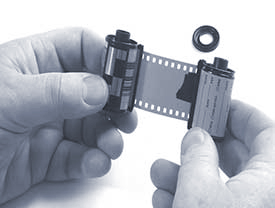
Slip cassette outer cover over spindle so that resulting assembly mirrors the supply roll.
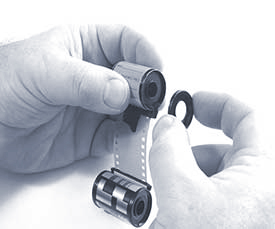
Pinch the cassette while snapping the end cap in place to complete the take-up spool. Make sure both spindle ends are facing up.
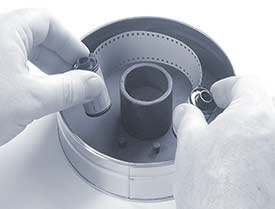
Hold the Pinhole Blender 35 in front of you with the lenses pointing away from you. The supply cassette goes on the right; the take-up cassette goes on left. The film wraps around center tube with emulsion of the film facing out. The emulsion side is the lighter side of the film.
To insure proper alignment of film transport system, align can seam with inscribed dimple indicator on edge of camera lid. Insert knobs into protruding cassette ends. Use knob line as guide. Film advance knob (take-up spool side) turns in clockwise direction. Follow the arrows marked on the label. When winding the film, release tension on the supply side first, then wind up the slack with the take-up side knob.
Shooting:
With cover in place turn take-up knob 4-360 degree turns (complete revolutions) in clockwise direction to set camera for image #1. For each panoramic image use 3 - 360 degree turns to advance film one complete image. You fill find 9 complete exposures on a 36-exposure roll & 6 on a 24-exposure roll. You may use any combination of 1, 2, or 3 apertures, either simultaneously or sequentially in the same or different locations.
Use
magnets to cover or open the lenses. The pinhole size is 0.3 mm
with an f-stop of 200. Exposure suggestions for ISO 100 & 400 films are on a handy reminder magnet that
can be attached to the lid or bottom. You may need to modify these
exposure suggestions to suit your preferences. Some customers prefer
to use black photographers tape or electrical tape to cover the
lenses or to secure the lid to the camera body
When exposures are done, use
rewind knob to wind the film back into original cassette. When rewinding
the film, release tension on the take-up side first, and then wind
up the slack with the supply side knob. Keep a slow steady pace
when rewinding film, if not the film will bunch up and seem to stop
winding when there is still film in the take-up spool. A changing
bag is a helpful tool to use if you are unsure if the film is completely
re-wound.