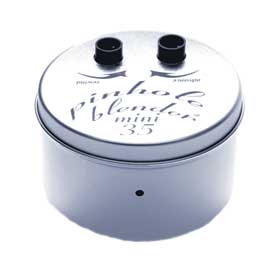
The Pinhole Blender Mini 35
Back to Cameras Page.
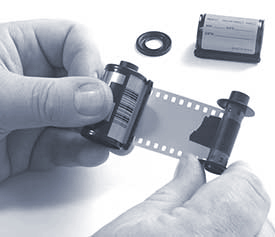
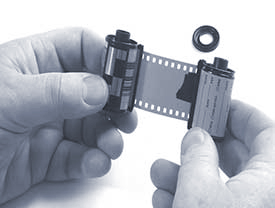
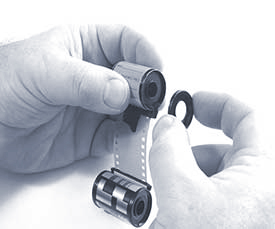
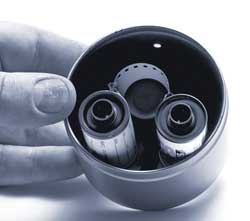
Loading the Camera

Shooting:
With cover in place turn advance knob 4 full turns (complete revolutions) in clockwise direction to set camera for image #1. After each image turn advance film a third (1/3) a rotation to advance film so that the each image will blend into one continuous blended montage. Alternativly you can rotate the advance knob more to give further seperation to your image. Advancing a whole turn will leave you with individual spaced images.
 This
camera comes with two lenses attached to a magnet. Position this
on the inside of the camera with the writing facing inwards. Position
the lens of your choice over the hole in the camera. The pinhole
lens has an f-stop of 200. The zone plate has and f stop of 64.
This
camera comes with two lenses attached to a magnet. Position this
on the inside of the camera with the writing facing inwards. Position
the lens of your choice over the hole in the camera. The pinhole
lens has an f-stop of 200. The zone plate has and f stop of 64.
Use the enclosed exposure chart to calculate exposures based upon a light meter reading. Use Pinhole Blender logo magnet as a shutter to cover the lens hole on the outside of the camera. Some customers prefer to use black photographers tape or electrical tape to cover the lenses or to secure the lid to the camera. body.
When exposures are done, use rewind knob to wind the film back into original cassette. When rewinding the film, release tension on the take-up side first, then wind up the slack with the supply side knob. Keep a slow steady pace when rewinding film, if not the film will bunch up and seem to stop winding when there is still film in the take-up spool. A changing bag is a helpfull tool to use if you are unsure if the film is completely re-wound.